


Every board game starts as an idea, a mechanic that sparks something, a theme you can’t shake, or a vision of players sitting around a table, totally immersed.
But before that game ever reaches Kickstarter (or store shelves), it has to become something real. Something playable. That “something” is your prototype and it plays a bigger role than most first-time creators realize.
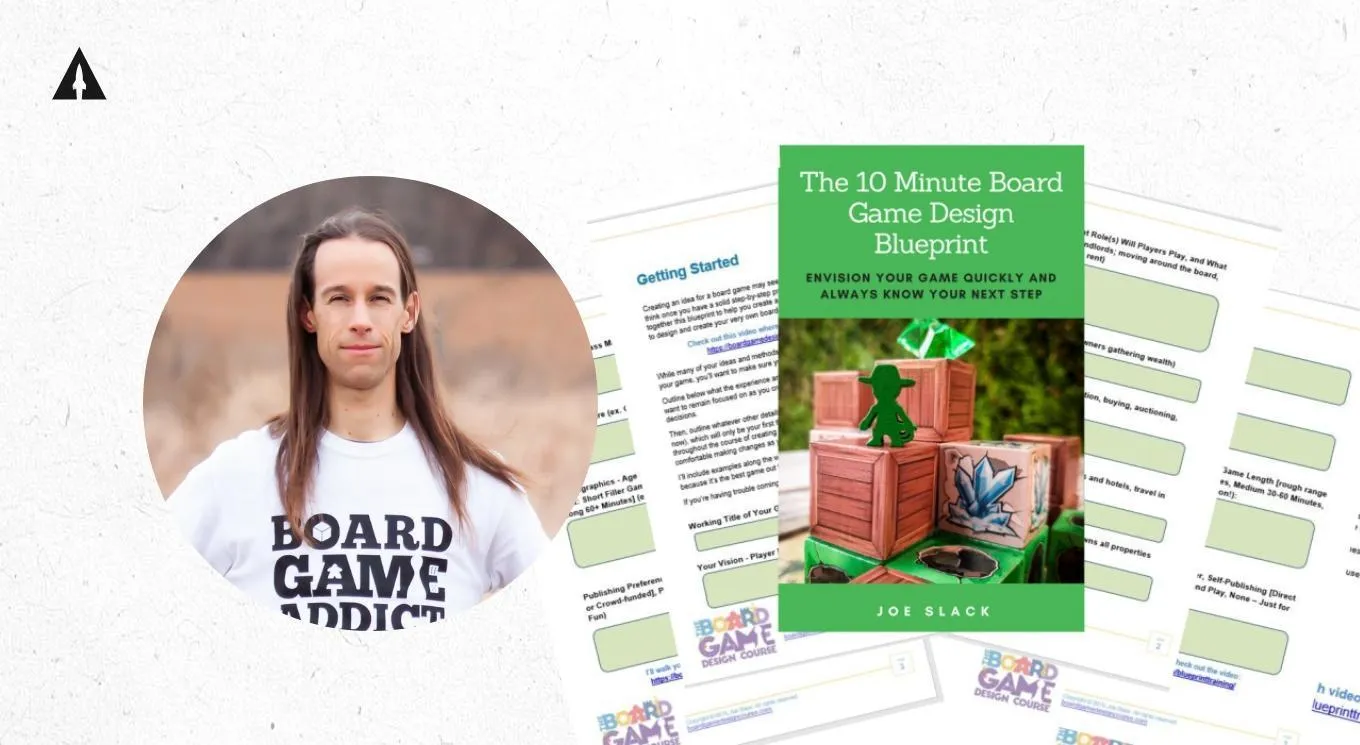
To help break down how to approach this part of the journey, we jumped on a call with Joe Slack, the creator of Board Game Design Course and a published game designer who’s helped thousands of indie creators bring their ideas to life.
He’s seen the prototype phase go really well and he’s seen where new creators tend to get stuck.
Together, we built this guide to walk you through:
- How to create your first prototype using what you already have
- When (and why) to upgrade to a more polished version
- What kind of costs to expect and when to spend
- How to use your prototype as a playtest and marketing tool
- And a real-world example of what the process looks like in action
Whether you’re just getting started or gearing up for your first crowdfunding campaign, this guide will help you build smarter, not just prettier.
Let’s dig in.
Prefer to watch? We’ve got you covered! I summarized this article about perfecting your prototype in this video:
Key Takeaways
- Start Cheap, Learn Fast – Your first prototype should be quick, scrappy, and cost as little as $0–$20 so you can test ideas without worrying about sunk costs.
- Function Over Finish – Early on, focus on gameplay mechanics and flexibility, not aesthetics.
- Upgrade Only When Ready – Move to a polished, manufacturer-made prototype ($12–$200) only after your core mechanics are locked in.
- Use Prototypes as Marketing Tools – A showcase-quality prototype can drive photography, videos, influencer outreach, and crowdfunding visuals.
- Playtest Relentlessly – Every version, from index cards to polished samples, should be tested with as many players as possible to refine gameplay and messaging.
Where to Start: Build It Yourself
The best place to start is almost always at home, literally. Your early prototype should be as quick, cheap, and flexible as possible. At this point, the goal isn’t to impress anyone, it’s to learn.
Learn what people like about your game, what functions work well, which parts need to be updated, and how the overall gameplay flows. Joe said, “For an early prototype, I suggest doing it as basic as possible. Even $0. Just making it look good enough.”
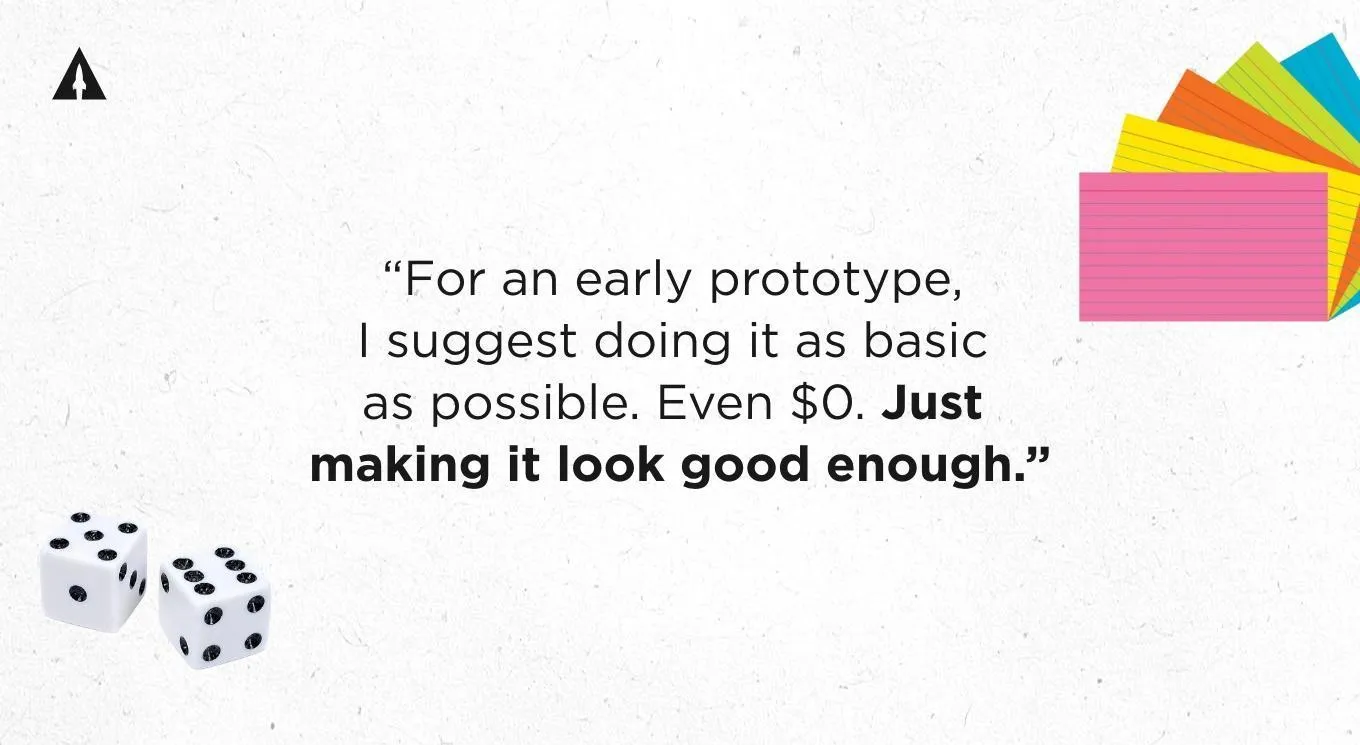
Think index cards, printer paper, cardboard cutouts, and spare dice from other games you have laying around the house. Or, if you’re starting from scratch, a $20 trip to your local office supply store can stock you with everything you need: blank cards, markers, glue sticks, colored paper. You don’t need anything fancy, just functional!
The advantage of a DIY prototype is that you can:
- Make fast edits between playtests
- Jot notes directly onto the components
- Try out wild ideas without worrying about sunk costs
This version of your prototype is your sandbox. It’s where your game’s core experience takes shape. At this point, functionality matters far more than finish.
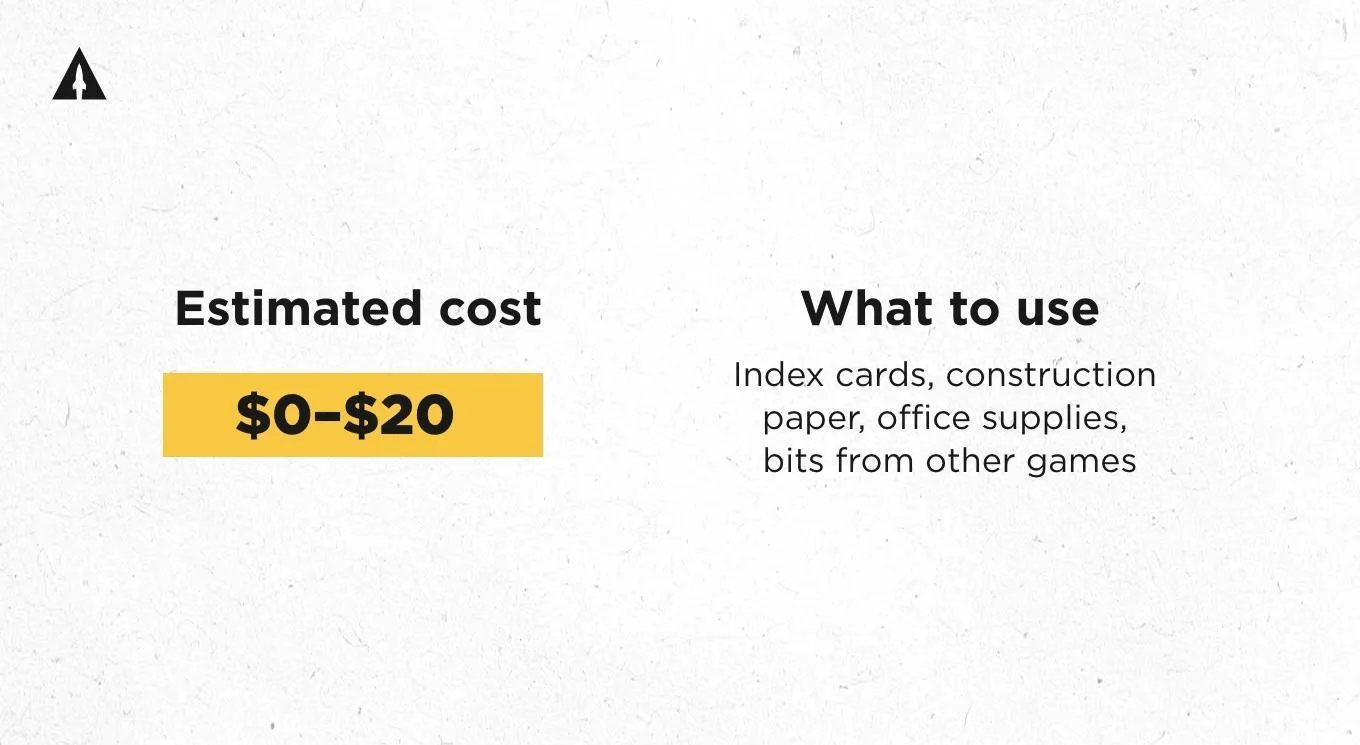
Estimated cost: $0–$20
What to use: Index cards, construction paper, office supplies, bits from other games
When is it time to work with a Manufacturer? (and how much will it cost?)
As your game develops, so does the job of your prototype. Once you’re past the early playtest stages, you’ll want something more refined, not just to play, but to show future backers what you have to offer.
When you reach the point where you need to pitch your game visually to play testers or future backers, presentation starts to matter. When presentation starts to matter, it makes sense to work with a manufacturer or short-run printer.
They can produce a version that looks like a final product, even if it’s still just a prototype under the hood.
“The better you make it look, the more attractive it’s going to be… to bring people in, get them interested, and give them the feel for what the final game will look like.” — Joe Slack
But don’t rush into this stage. If your mechanics are still shifting, spending $150 on a polished unit could slow you down instead of helping. Make sure your functionality is finalized before you move on to something more expensive.
Think of this version as your marketing prototype. Its job is no longer just to function, it’s to impress. Use it for:
- Content creation (photography, social media, ads)
- Video walkthroughs or trailers
- Review or influencer outreach
- Crowdfunding page visuals
If you’re working with a game that has custom components like miniatures or a unique board layout, your costs may go up. But the investment here isn’t just for polish. It’s for visibility and momentum.
Here’s a breakdown of what to expect from a manufacturer depending on your game type:
| Type of Prototype | Typical Cost (per unit) |
|---|---|
| Card Game (basic professional print) | $12–$18 |
| Board Game (box, meeples, dice) | $30–$60 |
| Game with Custom Miniatures | $100+ |
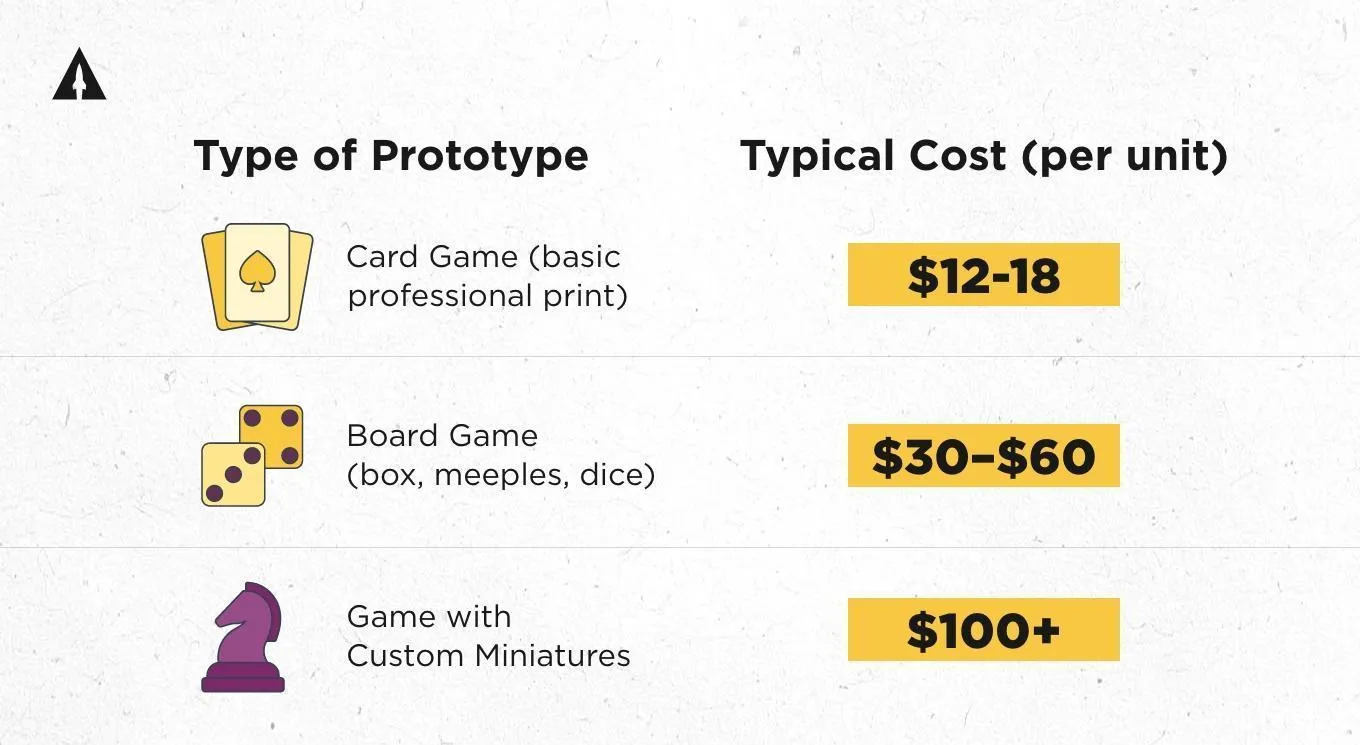
These prices aren’t for mass production, they’re for short-run, one-off, or sample prototypes you’d use to showcase your game.
So whether you’ve DIY’d it or gotten a polished product from the manufacturer, how do you get the most out of your prototype stage? Let’s talk about that!
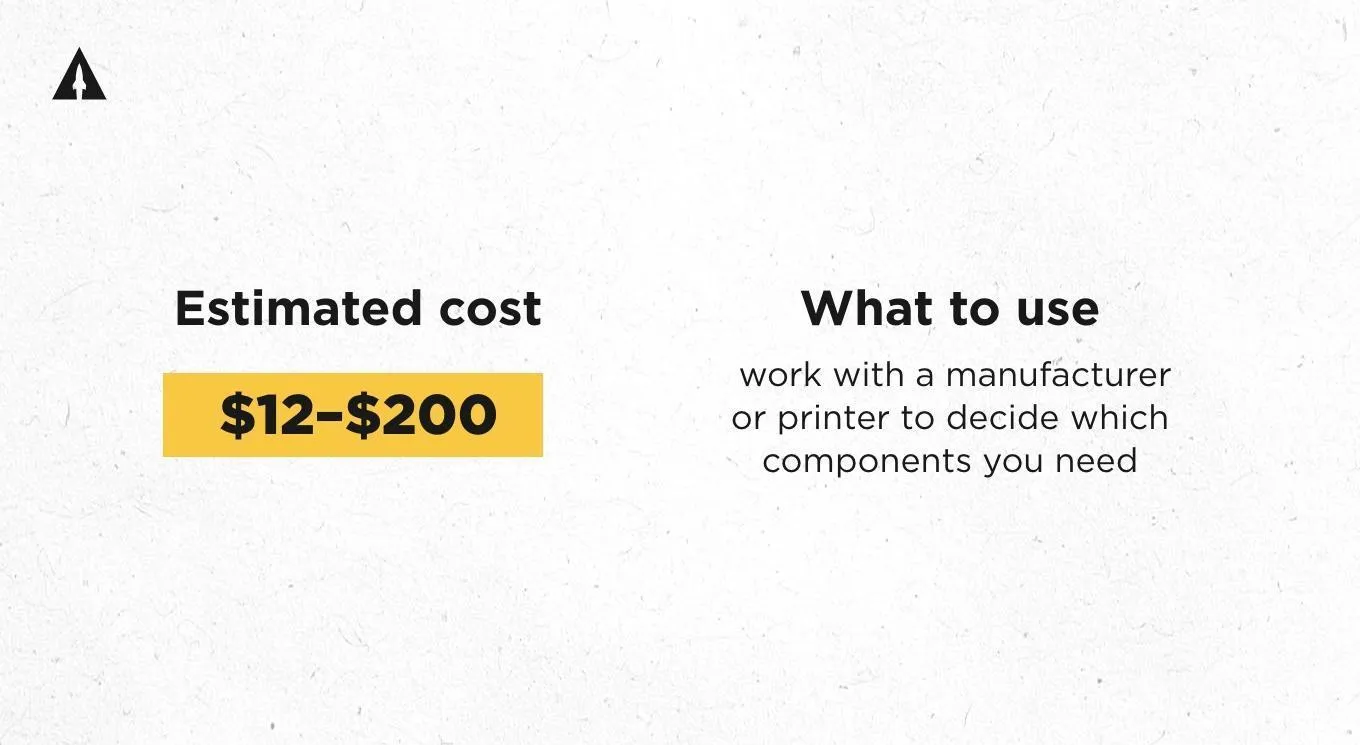
Estimated cost: $12–$200
What to use: work with a manufacturer or printer to decide which components you need
What to Do With Your Prototype (At Every Stage)
Regardless of whether you’re working with index cards or a manufacturer’s sample, your prototype is your most powerful development tool. Here’s how to use it strategically:
Playtest the heck out of it
The core job of a prototype is to test gameplay, over and over again. Take it to game nights, conventions, online groups, or even solo sessions. You’ll get fresh perspectives and uncover things you never noticed before. Ask for feedback and observe your testers as they play.
Use it for visual content
Even a mid-tier prototype can be photogenic enough to show off your game. Capture top-down shots, in-play moments, or a timelapse of setup, all of which help build hype and tell your story through social media and paid advertisements later.
Take detailed notes
Track what excites players, what confuses them, and what gets ignored. Use that data not only to improve your game mechanics, but to shape how you describe the game in your rulebook or campaign pitch and Kickstarter page copy.
Real Example: From Index Cards to Showcase Prototype
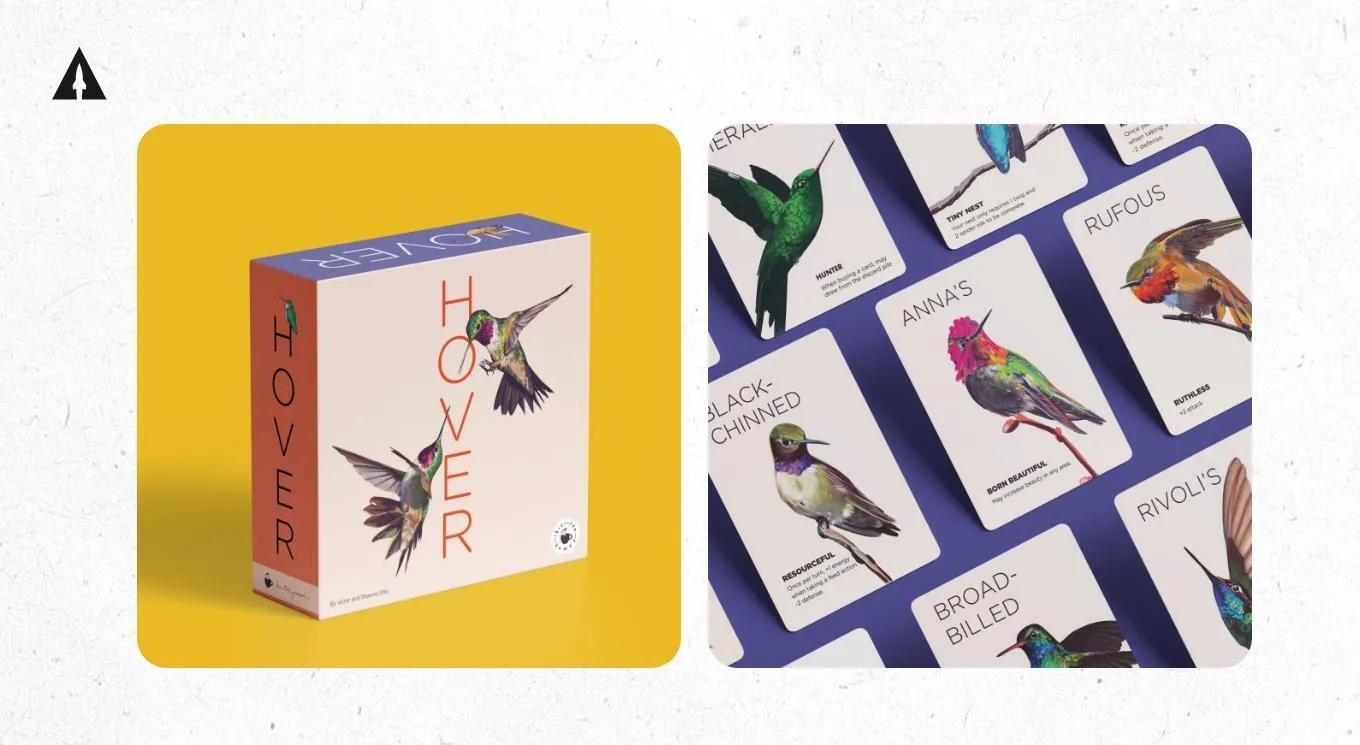
Victor Shiu, our Director of Games here at LaunchBoom, is right in the middle of this process with his game Hover. When he first started out, he made the entire prototype from index cards and components he already had lying around. It was cheap, fast, and gave him everything he needed to test the core mechanics of the game.
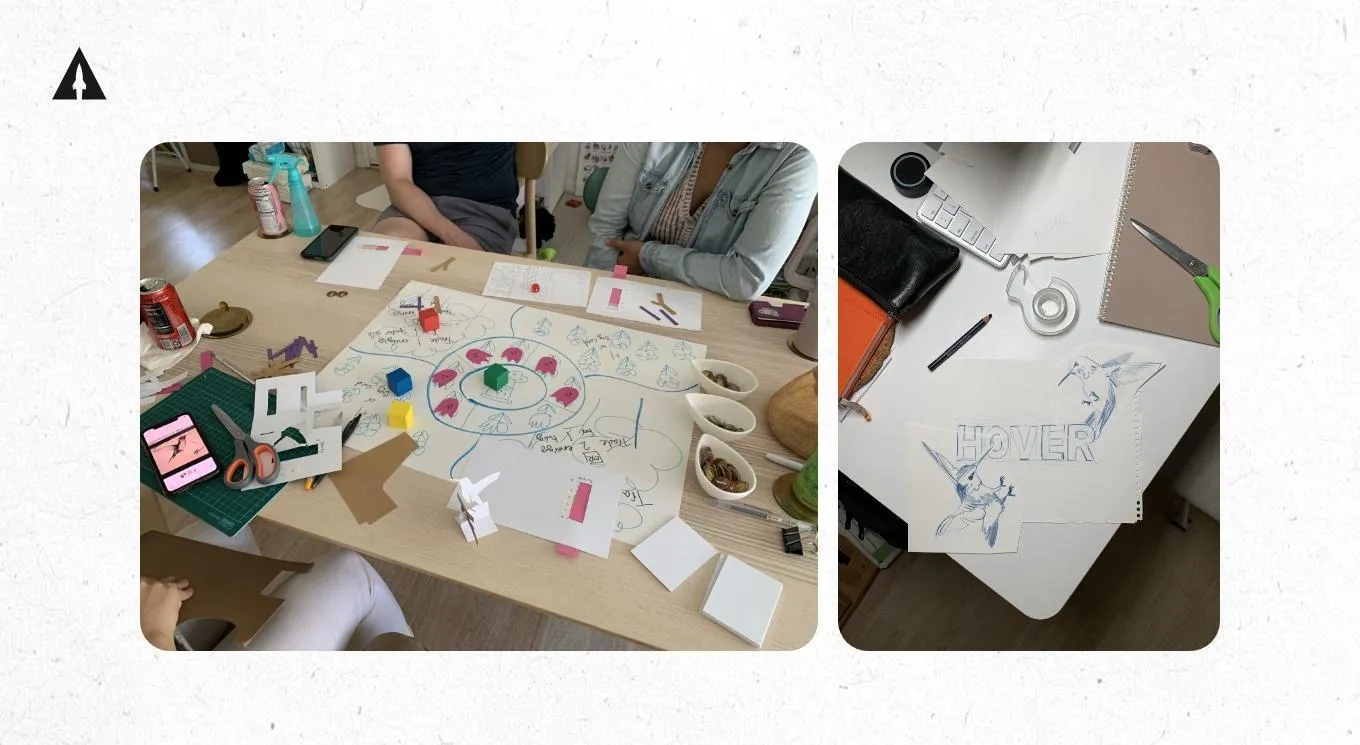
Victor playtested Hover at multiple stages using this DIY version, fine-tuning the rules, balancing components, and getting honest feedback from players. Now that he’s preparing to launch the game, Victor is working with a manufacturer to create a polished, production-quality prototype. This version will be used for photography, demo videos, and reviewer outreach which are all part of a campaign that reflects the final vision of the game.
Final Thoughts
The question isn’t just “how much should you spend on a prototype”; it’s what do you need your prototype to do right now?
- If you’re in early testing: stay scrappy, stay flexible.
- If you’re ready to market: invest in a version that helps you look the part.
Prototypes aren’t just stepping stones, they’re storytelling tools. Use them well, and they’ll help shape not only how your game plays, but how it’s received!
Board Game Prototyping: Frequently Asked Questions
What is game design prototyping and why is it important?
Game design prototyping is the process of creating an early, playable game prototype to test core mechanics, themes, and player experience before investing in full production. It helps identify design issues early, saving time and money.
What game development tools should I use for rapid prototyping?
For tabletop games, the best rapid prototyping tools are often simple: index cards, dice, markers, and components from other games. For digital aids, programs like Tabletop Simulator or Nandeck can help create and test game assets quickly.
How do I create a playable game prototype on a budget?
Start with a DIY approach using low-cost materials like printer paper, cardboard, and office supplies. This allows for quick changes and game testing without worrying about sunk costs, making iteration easier.
How does rapid prototyping for games improve the final design?
Rapid prototyping accelerates game testing and iteration cycles, allowing you to try new ideas, adjust mechanics, and refine player experience in days rather than months. This leads to a more balanced and engaging final product.
When should I move from a DIY prototype to a polished version?
Once your core gameplay is locked in and you’re ready to market, upgrade to a professional-quality prototype. This version is ideal for photography, videos, reviewer outreach, and events—giving backers a preview that mirrors the final game.
